
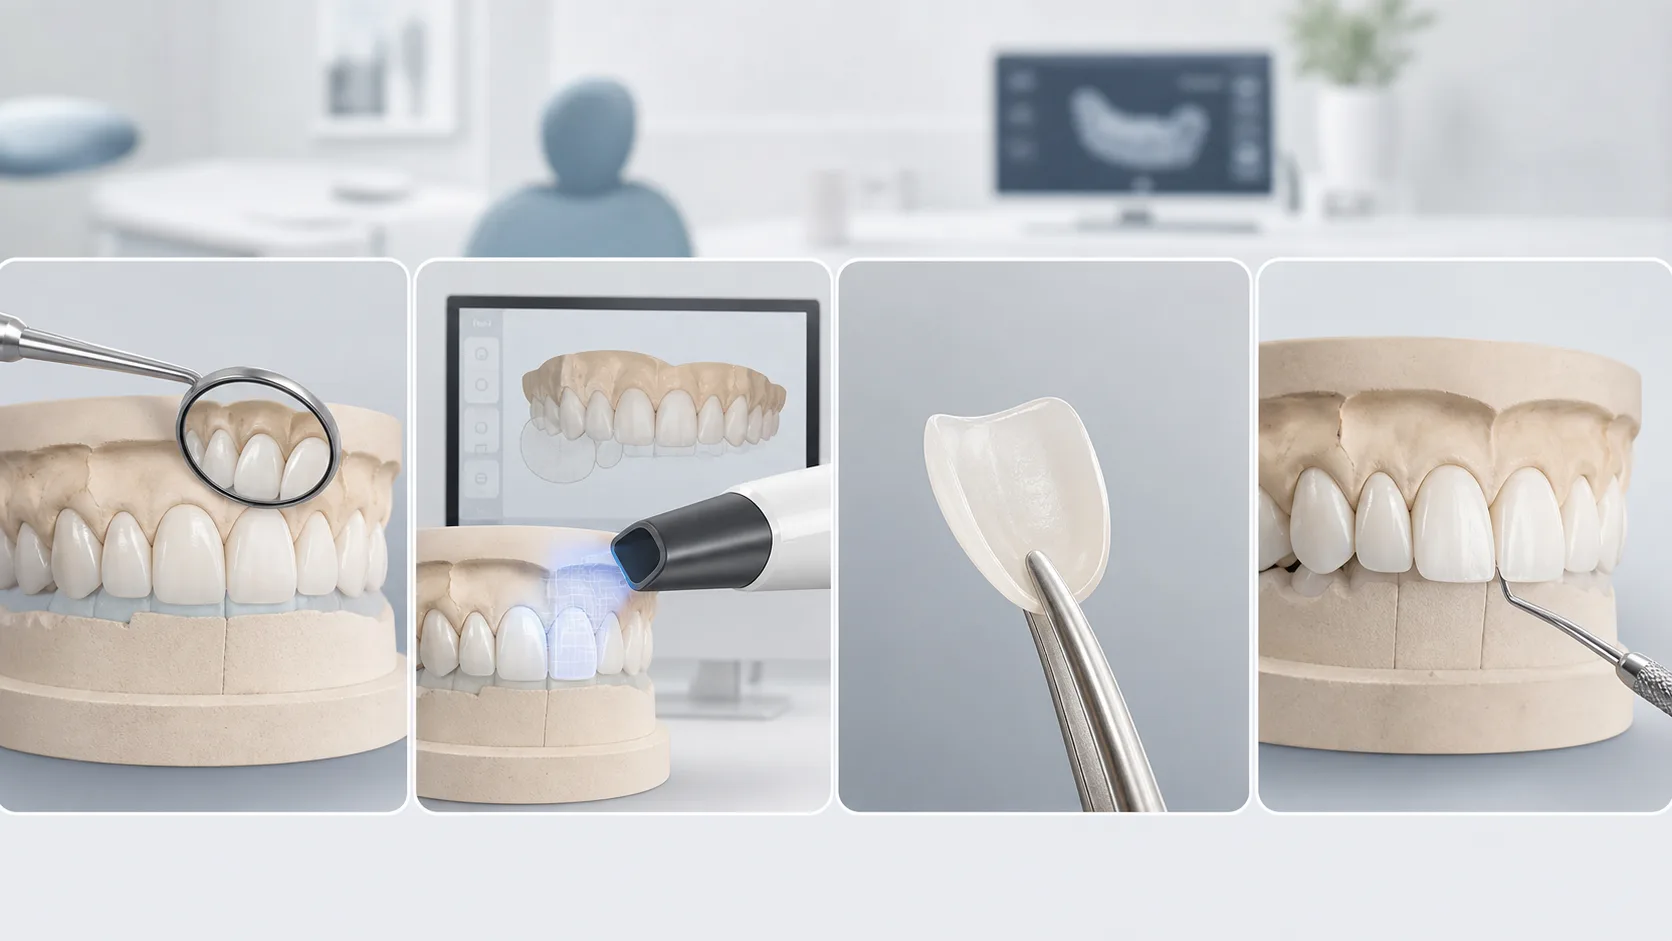
Dental veneers are thin coverings placed over the front surfaces of selected teeth to change their appearance. They may be made from ceramic in a dental laboratory or digital workflow, or from tooth-colored composite resin shaped directly or indirectly. Veneers can mask certain stains, chips, small gaps, or shape differences, but they do not move teeth, correct an unhealthy bite, or treat active decay and gum disease.
How dental veneers work depends on the material, the amount of sound enamel, the desired change, and the patient’s bite. The steps below describe a typical professional workflow rather than a do-it-yourself procedure. Treatment details require an examination by a licensed dentist, and conventional preparation is often irreversible.
Step 1: consultation, diagnosis, and candidacy
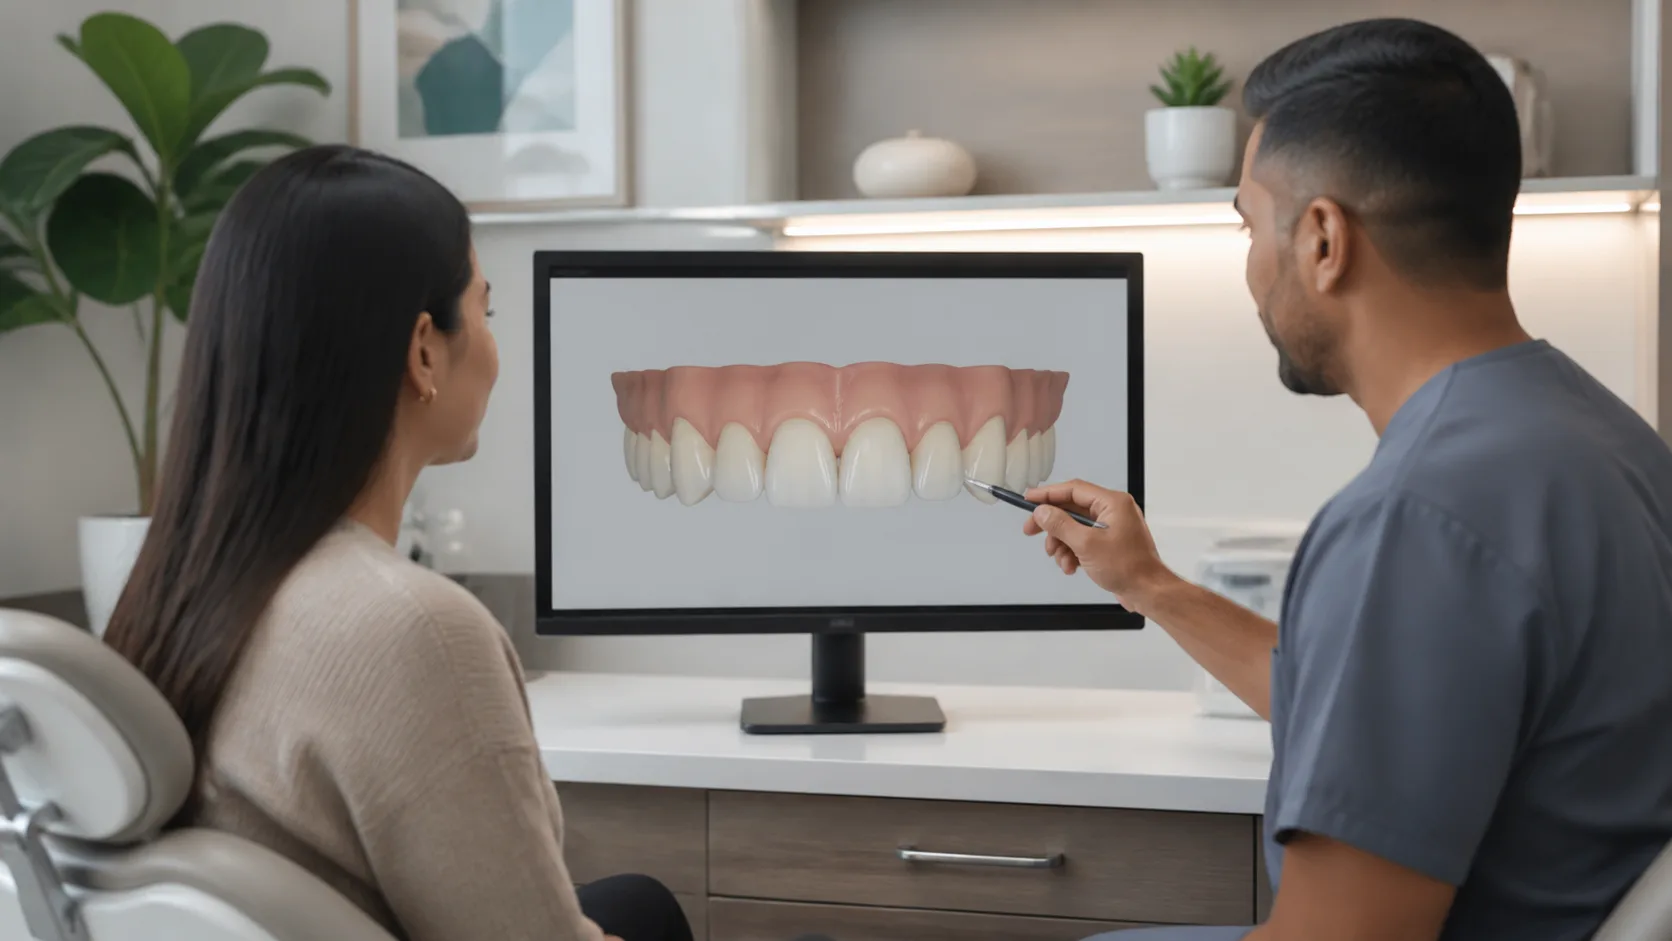
The first step is not choosing a shade. It is deciding whether veneers are appropriate. A dentist reviews the person’s concerns, health history, prior dental work, decay risk, gum condition, remaining enamel, bite, and habits such as clenching or grinding. X-rays or other records may be needed. Untreated cavities, gum inflammation, or structural damage are addressed before an elective cosmetic restoration is considered.
The ADA’s patient guidance on veneers notes that veneers can chip, crack, wear, loosen, or develop decay around their margins. It also emphasizes that enamel removal makes many treatments irreversible. A sound consultation therefore includes benefits, risks, expected maintenance, costs, alternatives, and the option of no treatment.
Photographs, impressions, an intraoral scan, a wax-up, or a temporary mock-up may help communicate possible proportions. Digital smile-design tools may support planning, but they are not universal and do not guarantee a result. A preview is an aid to discussion, not a promise that biology, materials, and appearance will behave exactly as a screen image suggests.
Step 2: choose the material and preparation approach
Ceramic and composite describe material groups; conventional, minimal-preparation, and occasionally no-preparation describe clinical approaches. They should not be treated as interchangeable categories. Direct composite is placed and shaped by the dentist and may sometimes be completed in one visit. Indirect ceramic veneers are fabricated outside the mouth and usually require more than one stage, although some practices use same-day CAD/CAM systems.
The amount of tooth preparation is individualized. It may depend on the position of the tooth, the planned change in color or contour, the material thickness, and the space available in the bite. “Etching” is not the same as removing a fixed thickness of enamel. Preparation changes the tooth’s shape; later surface conditioning prepares enamel, dentin, or ceramic for the selected adhesive system. Patients should not be promised a universal measurement or told that every minimal-prep case is reversible.
Alternatives can be more conservative for a particular goal. Whitening may address eligible discoloration; bonding may repair a small defect; orthodontic treatment moves teeth; and a crown may be more appropriate when a tooth is structurally compromised. The dentist should explain why the proposed option fits the diagnosis.
Step 3: records, fabrication, and temporary protection
After any planned preparation, the dentist records the teeth with an impression or digital scan. Indirect ceramic veneers are then designed and fabricated by a laboratory or a compatible CAD/CAM workflow. The dental team communicates shade, surface texture, contour, contact points, and other details. Fabrication time varies; “veneers in hours” is possible in some systems but is not the standard for every material or clinic.
Temporary veneers may be placed when clinically needed. They can protect prepared teeth and let the patient experience approximate shape and length, but they differ from the definitive ceramic. Instructions may include avoiding foods or habits that could dislodge a temporary and contacting the office if it becomes loose or the bite feels wrong.
Direct composite follows a different path. The dentist places, contours, and polishes resin on the tooth rather than sending a ceramic shell to a laboratory. Composite can often be repaired more readily than ceramic, but it may wear or stain differently and is not automatically reversible.
Step 4: try-in, bonding, finishing, and bite check
Before definitive bonding, the dentist checks shape, shade, fit, margins, contacts, and the patient’s feedback. The tooth and veneer surfaces are isolated and conditioned according to the chosen material and adhesive instructions. Resin cement or composite is placed, excess material is removed, and the restoration is cured or set using the manufacturer’s protocol.
Modern resin materials generally use visible-light curing devices rather than ultraviolet lamps. The ADA’s overview of dental curing lights describes the evolution to visible-spectrum systems. The precise wavelength, exposure, and chemical curing mechanism depend on the material; this is professional equipment, not a home step.
The dentist finishes and polishes the margins, checks how the teeth meet in normal and side-to-side movement, and adjusts when necessary. “Permanent bond” is misleading language. Bonding can be durable, but veneers may still fracture, debond, wear, discolor, or require replacement.
Step 5: aftercare, risks, and realistic expectations
After treatment, brush twice daily with fluoride toothpaste, clean between teeth daily, and attend the recall schedule the dentist recommends. Avoid using teeth as tools and biting ice or non-food objects. A sports mouthguard may protect against impact. A dentist should assess grinding or clenching before recommending a night guard because an unfavorable bite or severe bruxism can affect whether veneers are appropriate.
Temporary sensitivity can occur. Contact the dentist for persistent pain, a bite that feels high, a rough or sharp margin, movement, a chip, swelling, or repeated food trapping. Teeth can still decay around or beneath veneers, and gums may become irritated or recede. Some prepared teeth may later require additional care.
A systematic review of porcelain laminate veneers estimated high ten-year cumulative survival in selected clinical studies, while also identifying fracture and debonding among leading failure modes. That population estimate is not an individual forecast. Outcomes depend on case selection, remaining enamel, technique, material, bite, and maintenance.
The bottom line
Our analysis of how dental veneers work shows that the visible shell is only one part of treatment. Diagnosis, informed consent, conservative preparation, material-specific bonding, bite assessment, and follow-up all affect the result. Digital scans and planning tools may improve communication and workflow, but they cannot replace clinical judgment.
A responsible treatment discussion balances appearance goals with irreversible tooth changes, possible complications, alternatives, and future replacement. A licensed dentist who has examined the teeth is the right person to decide whether veneers—and which workflow—fit an individual case.
For more context, read Complete Guide to Building a Sustainable Wellness Routine.
For more context, read How to Clean and Maintain Your Porcelain Veneers in Miami.